Making a healthy yeast starter
- Michael Myers
- Education
- 04 Sep, 2022
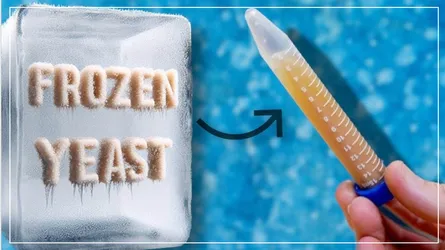
I want to let you know how I do my yeast propagation and storage. To harvest yeast, follow the instructions below for the yeast starter. Next, decant the yeast and place it in a sterile jar to save it until you are ready to brew. Then just make a starter and use the entire batch of yeast.
-
Step 1: Clean and sterilize all your materials, including yeast packet and scissors.
-
Step 2: Make a starter wort with a gravity of 1.030 to 1.040 using dry malt extract.
-
Step 3: Boil the wort for 15-20 minutes.
-
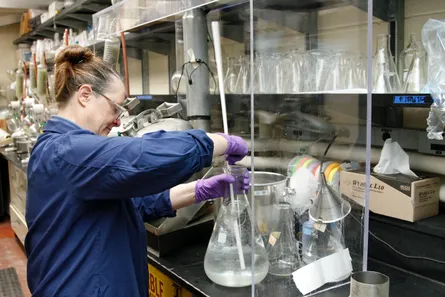
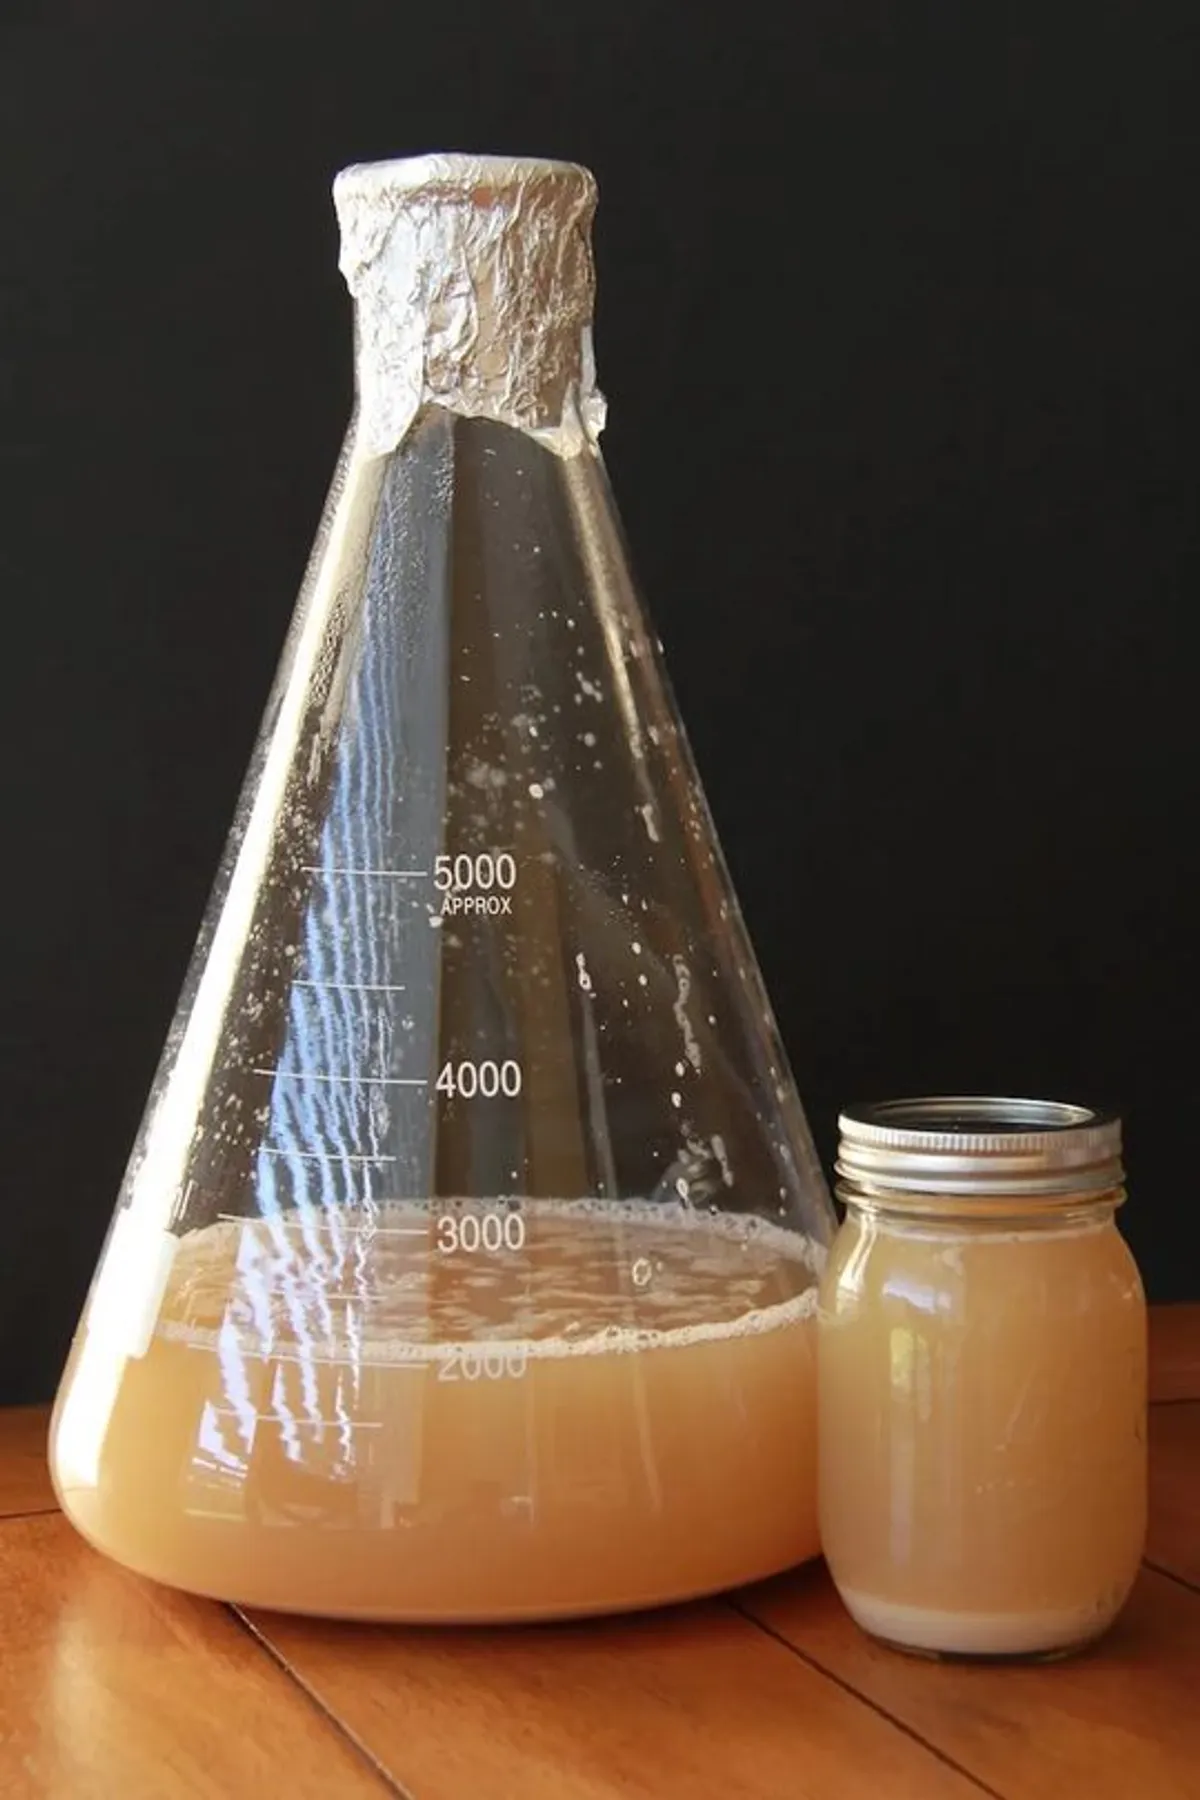
Step 4: Pour the hot wort into a lab flask. Lab-safe glass can withstand the extreme heat.
-
Step 5: Drop a stir bar and cover. The hot wort and steam will sanitize the bar and cover.
-
Step 6: Cool to 75° F. The lab-safe glass can withstand the temperature change.
-
Step 7: Pitch your yeast and re-cover.
-
Step 8: Stir the yeast with a magnetic stir-plate. Moderate stirring is enough to keep yeast suspended and drive-off CO2. Keep stirring for 24 to 36 hours.
-
Step 9: Refrigerate to encourage flocculation. Once it separates, dispose of the clear liquid at the top of the yeast cake.
-
Step 10: To harvest yeast, pour half of the starter into a sterile jar and save for your next batch. Pitch the rest into fresh wort and get to fermenting!
To recap: make a starter, decant and save. When you are ready to brew, make another starter and use the previous yeast cake you had already saved. Use half in your brew and save the rest for next time. Now you will have good clean yeast to use in the future.
— Michael Myers, Sergeant-at-Arms