Seven tips for your best batch of mead
- Charlie Scudder
- Education
- 07 May, 2023
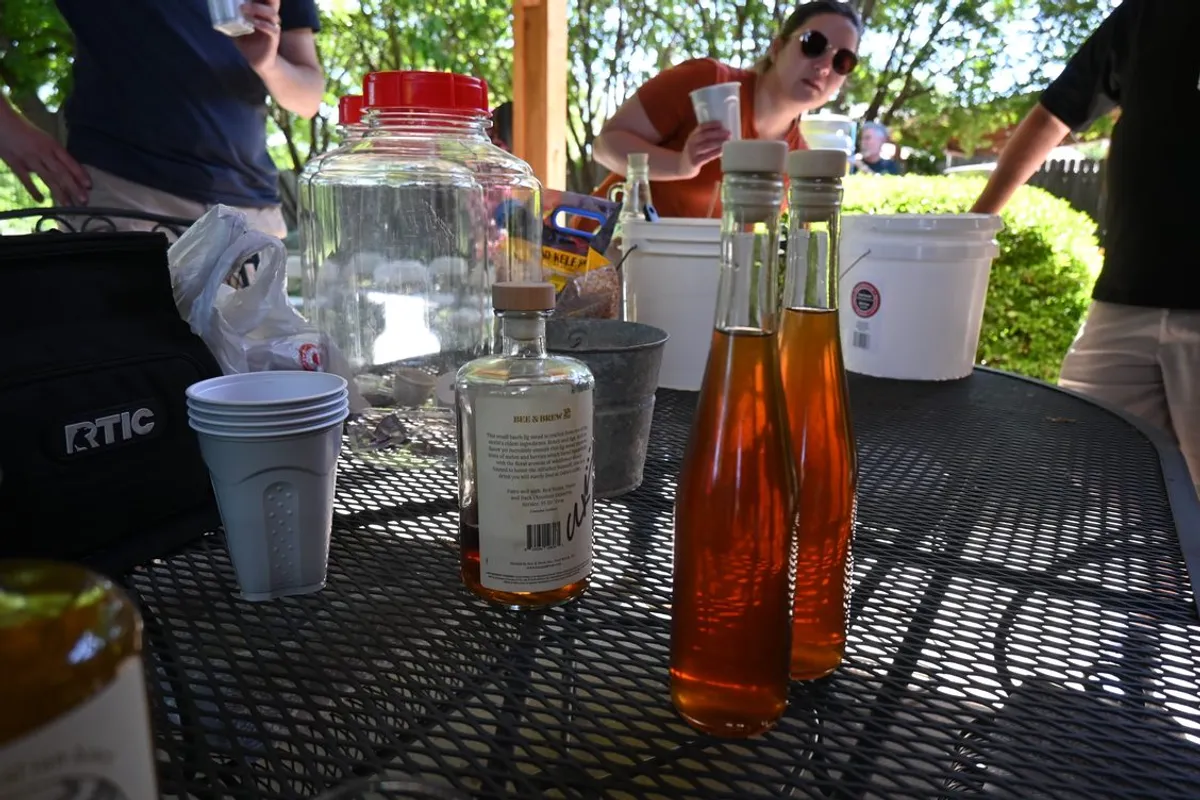
At the end of April, we met up at the Morriss house for a special hands-on Horsemen meeting. Award-winning meadmakers John Bates and Reni Morriss walked us through the ins and outs of fermenting honey, and many of us got to leave with our own batch ready to go. It was especially great to see a few new faces as well as old friends getting together to brew!
“There is no right way, there are better ways,” to make mead, John told us. If you missed the mead-ing (see what I did there?), then you’ll want to keep these seven tips handy for your next batch of mead.
-
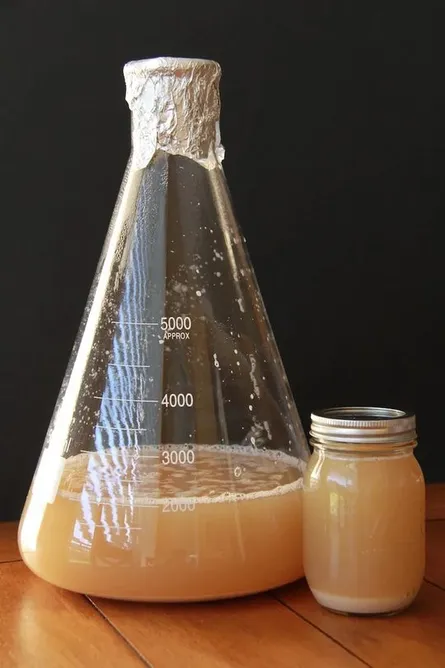
It’s all about yeast health While brewing beer is work intensive on brew day and fermentation is pitch-and-forget-it, mead is easy on day one but a lot of work as your honey ferments. The initial product — called “must” instead of “wort” — is not a healthy environment for yeast to thrive, so adding nutrients and regularly oxygenating your must is critical to a clean flavor profile on your mead. John said that unlike wort, honey is like junk food for yeast. To keep them healthy, John and Reni use a process called TOSNA, or Tailored Organic Staggered Nutrient Addition, which involves adding nutrients like Fermaid-O once a day for the first several days of fermentation.
-
Start at the end
Reni suggests starting with your final idea in mind. Do you want a sweet, high-ABV mead? Or a sessionable dry mead? Do you want to add fruit, or spices, or other flavors? Or will you go with a traditional honey-only mead? Getting an idea of what you’re targeting to start with helps you build a recipe from the back end.
-
Different honeys give different flavors This seems like a no-brainer, but there are so many different honey varieties available for meadmakers. Orange blossom, wildflower, mesquite, coffee blossom — if bees can eat it, there’s a honey for it. Each honey tastes differently when you get a taste, but different honeys will put out different flavors after fermentation as well. Check out the BJCP Mead Exam Study Guide for a great cheat-sheet.
-
Every recipe is unique, but… …a good rule of thumb is 3.5 lbs of honey to every gallon of water for a standard-strength mead. Make sure you’re double checking that ratio to dial in your gravity levels, especially if you’re looking to make a mead with a very strong or very light ABV. The recipe John and Reni shared on mead day called for 3.5 lbs of honey topped off with tap water to 1 gal.
-
Flavors can be fun — but don’t forget balance John says to think of a plate with four quarters, balanced on a pin. Two sides opposite are alcohol and sweetness, and the two adjacent are acidity and tannins. Your goal should be to balance the plate through a variety of techniques. If your mead is too acidic, add some tannin. If it’s too hot with alcohol, back-sweeten using potassium metabisulfate. Once you get that idea of balance down, mead is perfect for playing with all kinds of flavor combinations. Let your creativity go wild!
-
Time is your friend Using the TOSNA method to ensure yeast health helps get mead ready to drink in six months or so, but don’t be afraid to let your mead sit for longer. Generally the longer it sits — a year or more, even — the better it will be. Don’t rush into this like a 2-week ale, plan to put it away and forget about it for a while.
-
There’s plenty of online resources Reni and John put together a great handout with all the details from Mead Day, which you can review here. Also be sure to bookmark Got Mead’s recipe calculator and Mead Made Right’s TOSNA calculator for when you’re getting your recipe together. There’s also plenty of other resources — including the Horsemen Facebook group where you can ask questions and get feedback from our club members!
— Charlie Scudder, Club Information Officer